As the days get longer and warmer, it’s time once again for the beloved cherry trees in Washington, DC to share their glorious blooms. While not all of us are able to experience the blossoms in person, you can celebrate their splendor in your home with these crafts! The paper bag cherry tree is a SAAM classic, and the knitted cherry blossom is a new one that can be turned into a brooch or other decorative element for your home. Let’s get crafting!
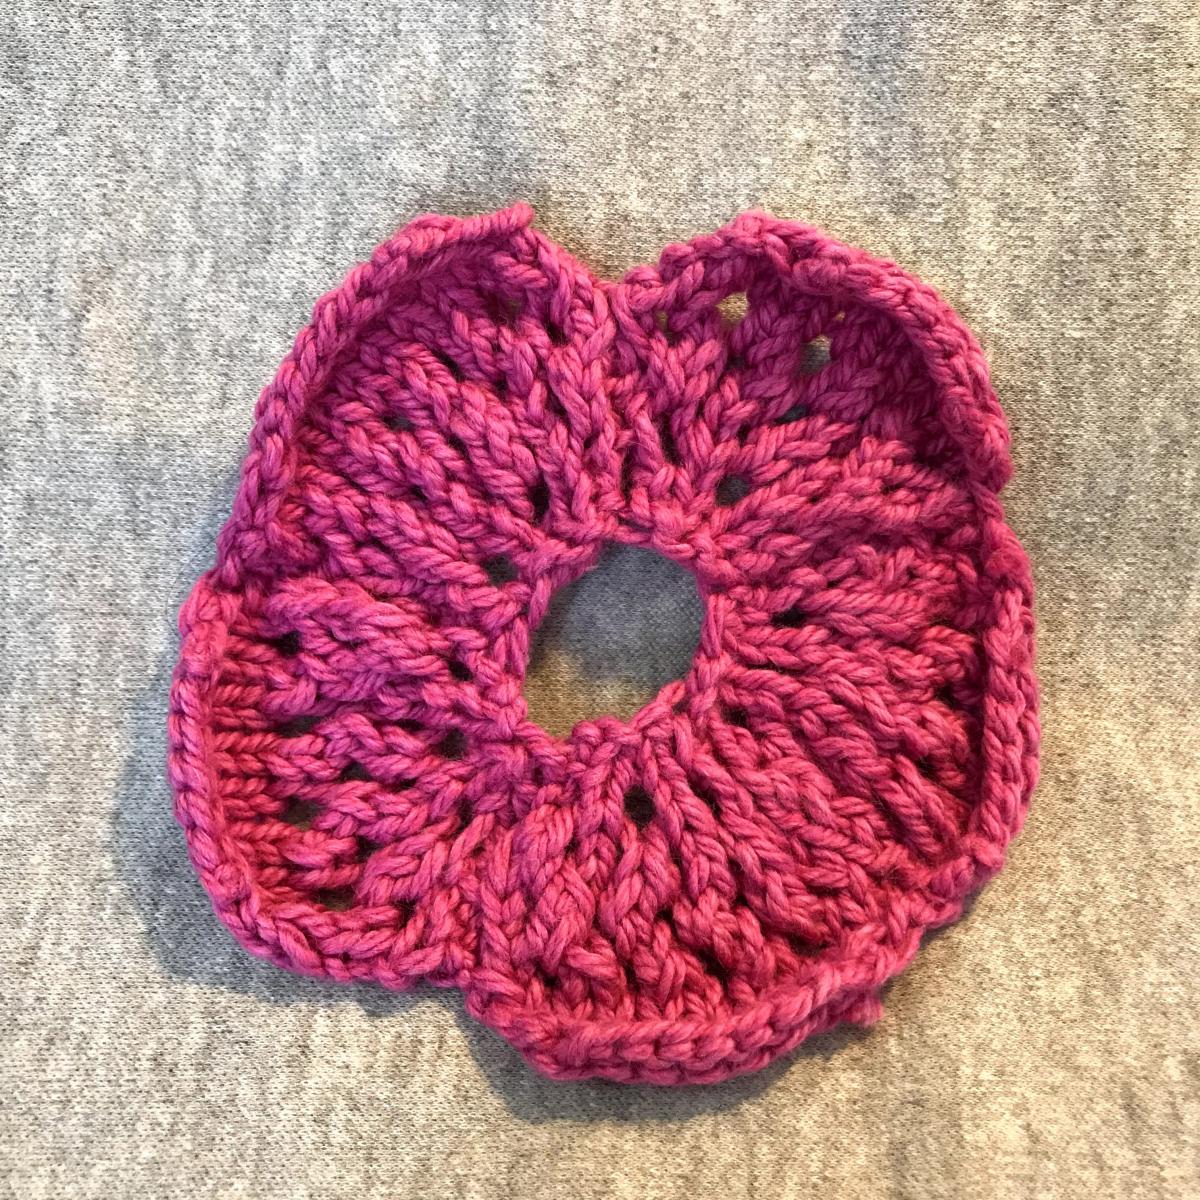
Knitted Cherry Blossom
This makes 5 inch x 5 inch blossom when completed. Each petal is 2 inches long and 2.5 inches at the widest point. It can be made smaller with a smaller needle and lighter weight yarn. Recommended for adults or older children.
Supplies needed:
- Worsted weight yarn, Pink, approximately 10 yards
- Size 7-9 knitting needles
- Tapestry needle
Abbreviations:
K – Knit
P – Purl
YO – Yarn Over
K2TOG – Knit Two Together
SSK – Slip Slip Knit
BO – Bind Off
Instructions:
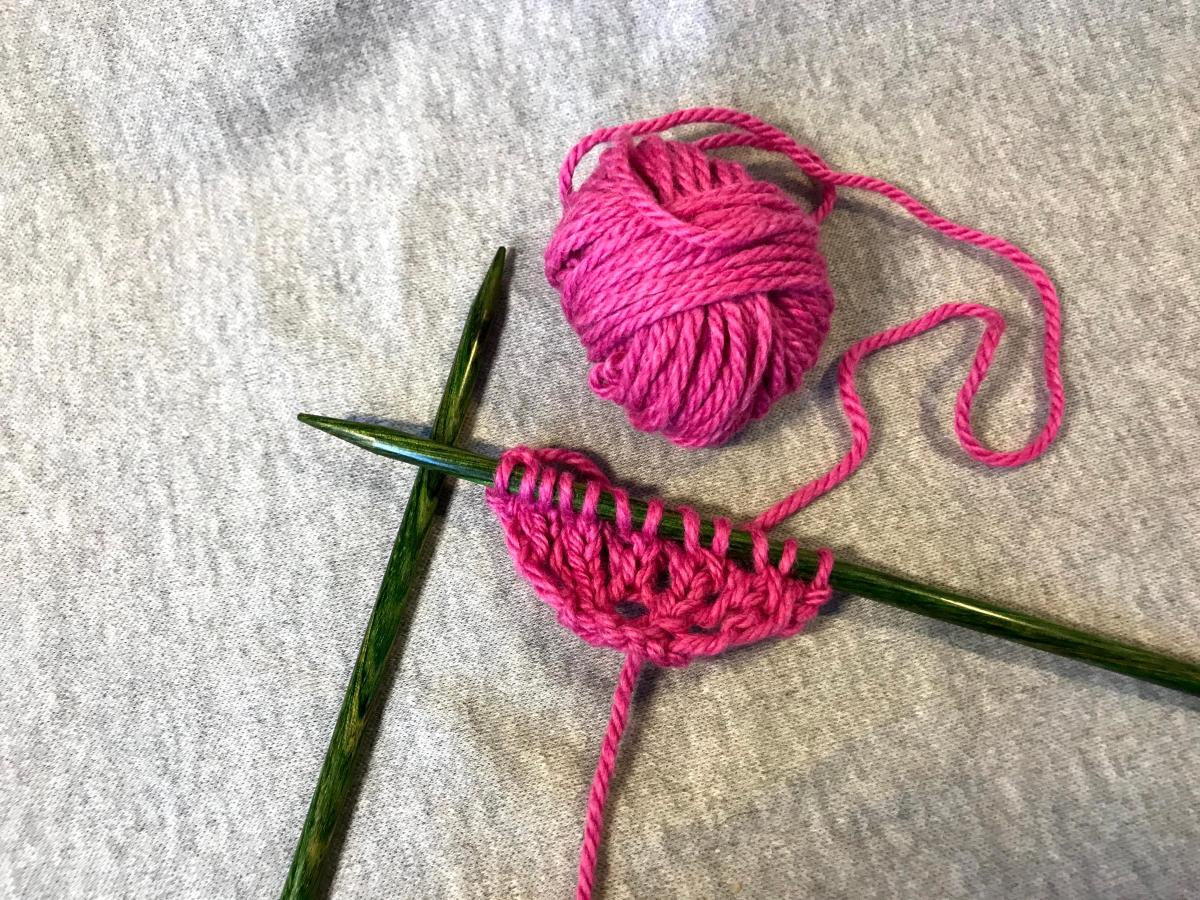
Cast on 4 stitches using the long-tail method (you’ll need the extra yarn later)
Row 1: Knit 4 Row 2 and all even rows: Purl all stitches
Row 3: K1, *YO, K1* to end (7 stitches)
Row 5: K1, *YO, K1* to end (13 stitches)
Row 7: K1, SSK, YO, SSK, *YO, K2TOG* to end of row (12 stitches)
Row 9: K1, SSK, YO, SSK *YO, K2TOG* to last stitch, K1 (11 stitches)
Row 11: SSK, K to last 2, K2TOG (9 stitches)
Row 13: SSK, K to last 2, K2TOG (7 stitches)
Row 14: BO purlwise
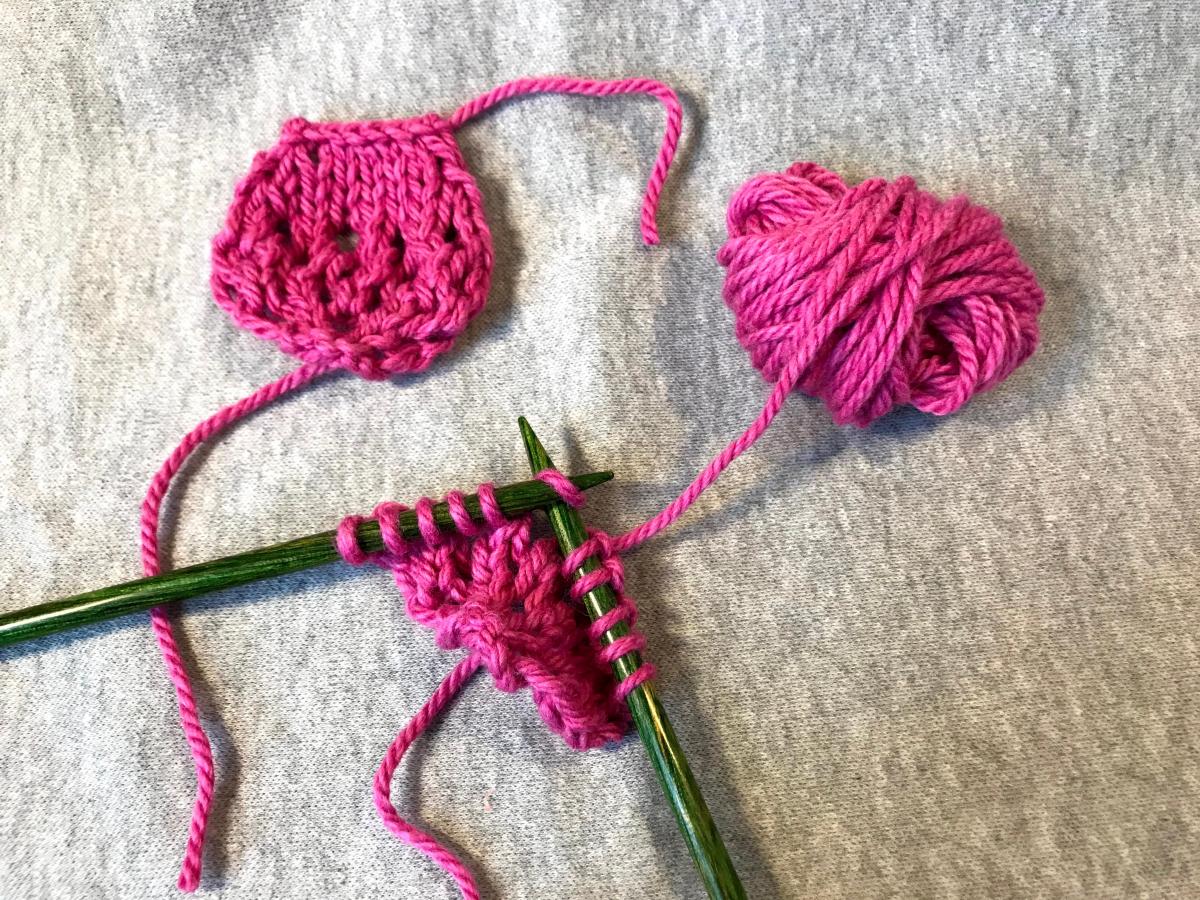
Repeat above pattern 5 times to create flower petals.
- Align petals with knit side facing up and edges touching.
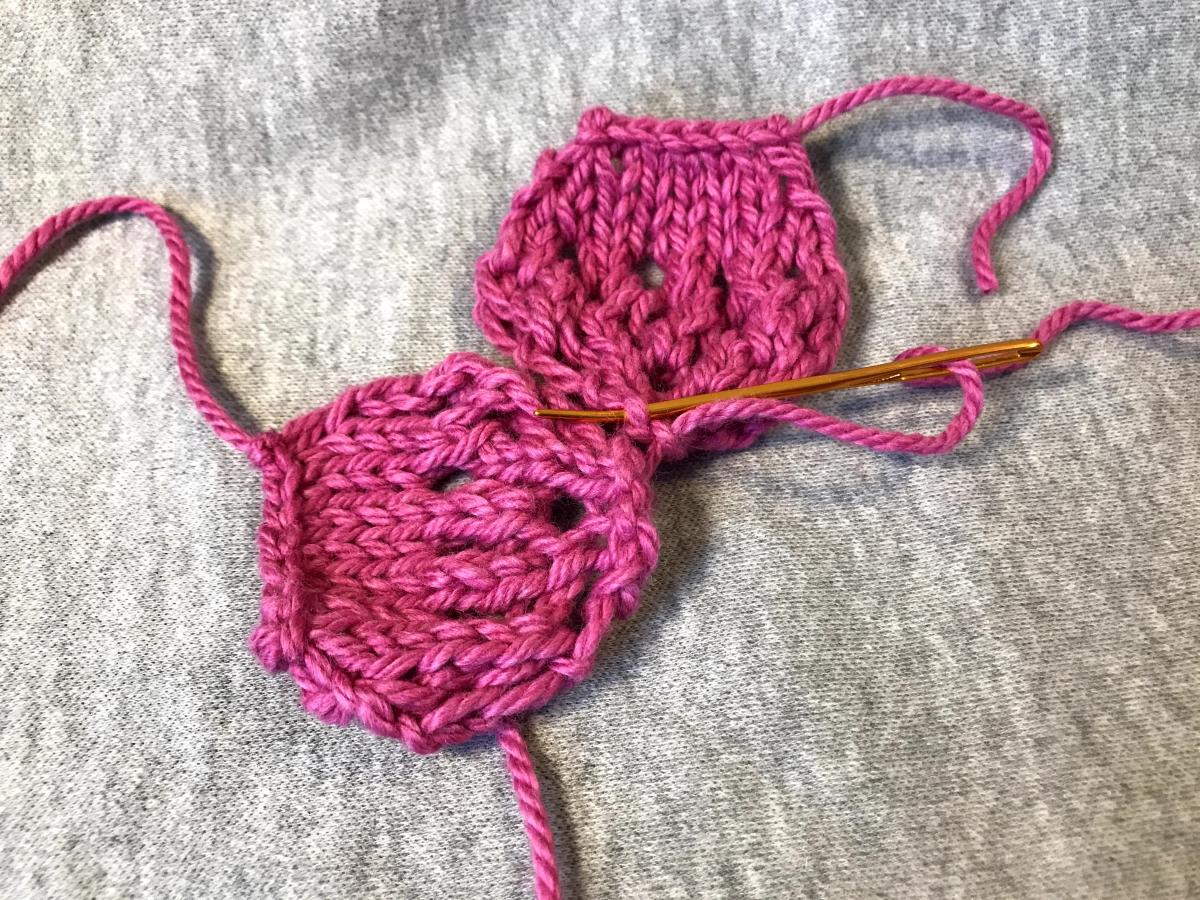
- Thread the tapestry needle with the extra yarn from your cast-on end.
- Align the petals with the cast on end toward the center.
- Sew the petal edges together up to Row 9, or where the petal starts to curve back in.
- Weave in ends from top of bound off edges.
- Gently block in cold water.
Attach a brooch back or use as a wall decoration to celebrate spring and the cherry blossoms year round!
Paper Bag Cherry Tree
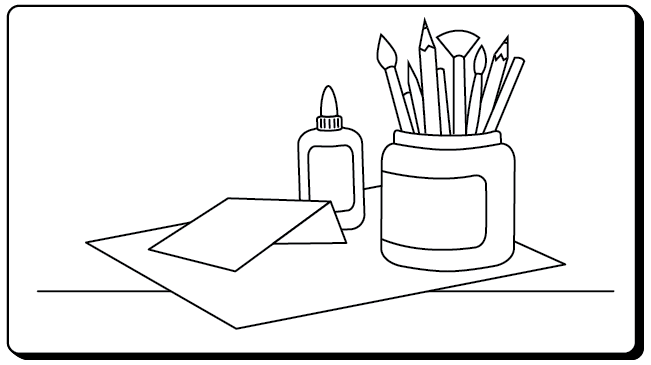
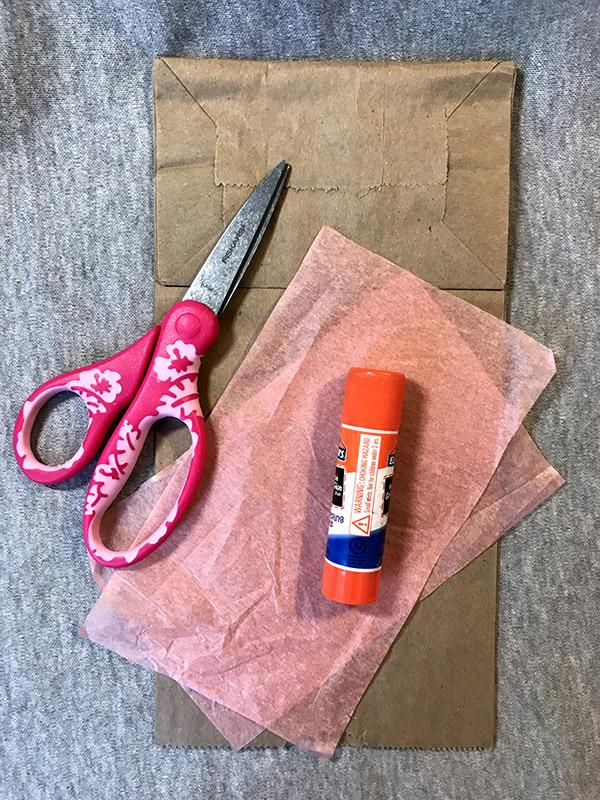
Supplies needed:
- Paper bag Pink tissue paper
- Glue stick
- Scissors
Instructions:
- Lay the paper bag flat and cut ½-inc wide strips from the open end half way down.
- Open the bag and stand it up so that the bottom is flat.
- Create a trunk by starting to twist the bag from the base in one direction. Include the bottom of the cut pieces in this twisting.
- Create separate branches by twisting the cut strips together in different directions.
- Once the branches are created, cut the tissue paper into 1 inch squares.
- Cut twice as many squares as flowers
- Layer and glue two squares together; fold into a point at the center.
- Glue the point to the branches.
- Repeat the above step until you have a tree that is fully in bloom!
Visit our Cherry Blossom Family Zone for more cherry-blossom themed activities, including additional step-by-step craft projects, coloring pages, a spring scavenger hunt in your neighborhood, and videos.


