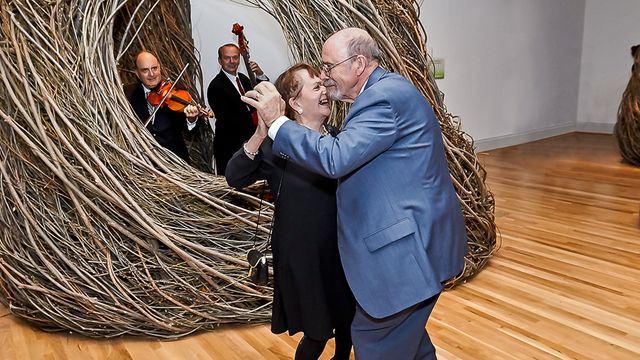
Gloria Kenyon, senior public programs coordinator at SAAM, leads the museum's Handi-hour programs. Since we can't craft as a group at the moment, Gloria offers a simple project you can do at home.
Greetings from your friendly neighborhood craft master!
Are you looking for something to get those creative juices flowing while you’re wandering from the kitchen to your new home office set up? Or maybe you have some young people in your life who finished their schoolwork much more quickly than anticipated. And, you’re really missing those peak bloom cherry blossoms because you’re being responsible, staying close to home and far away from other people. Never fear, I’m here to help!
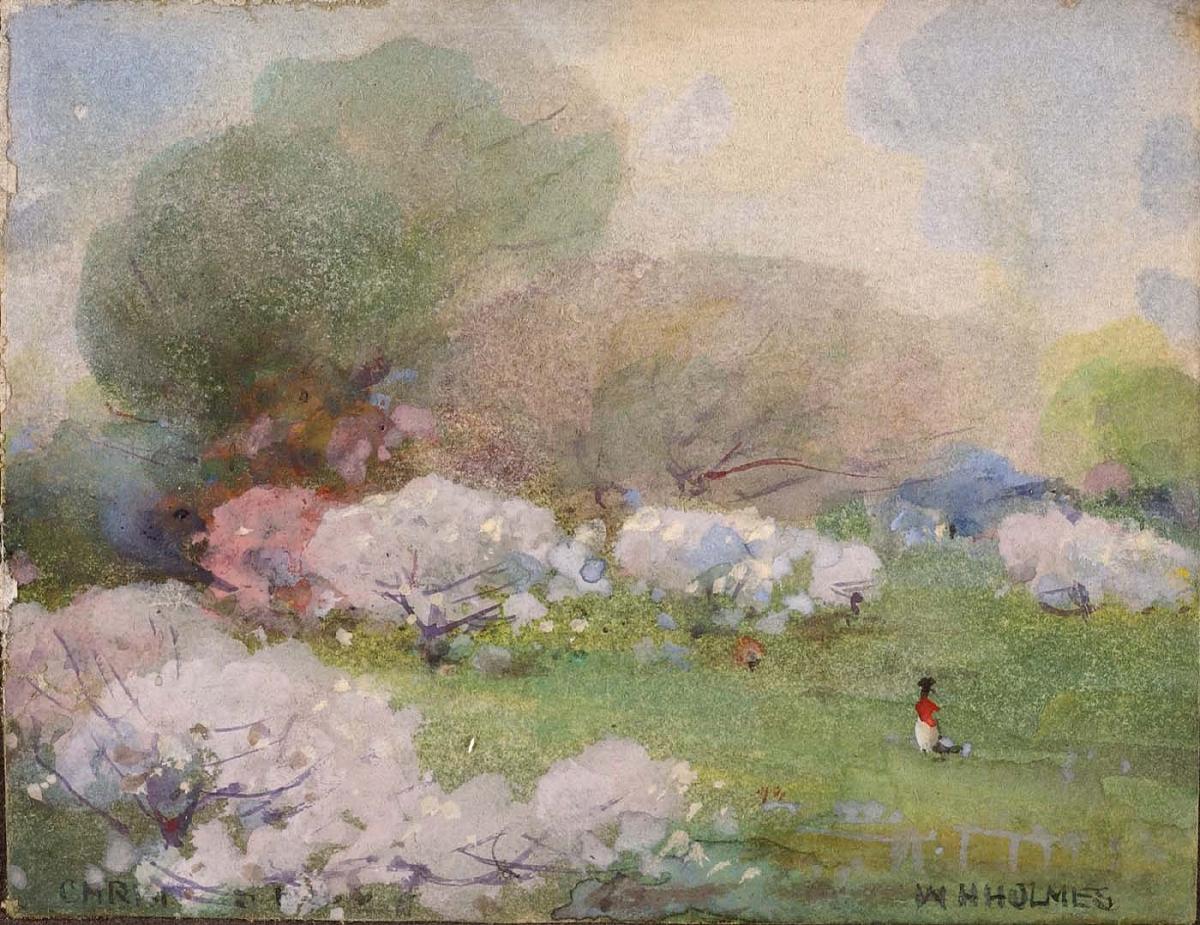
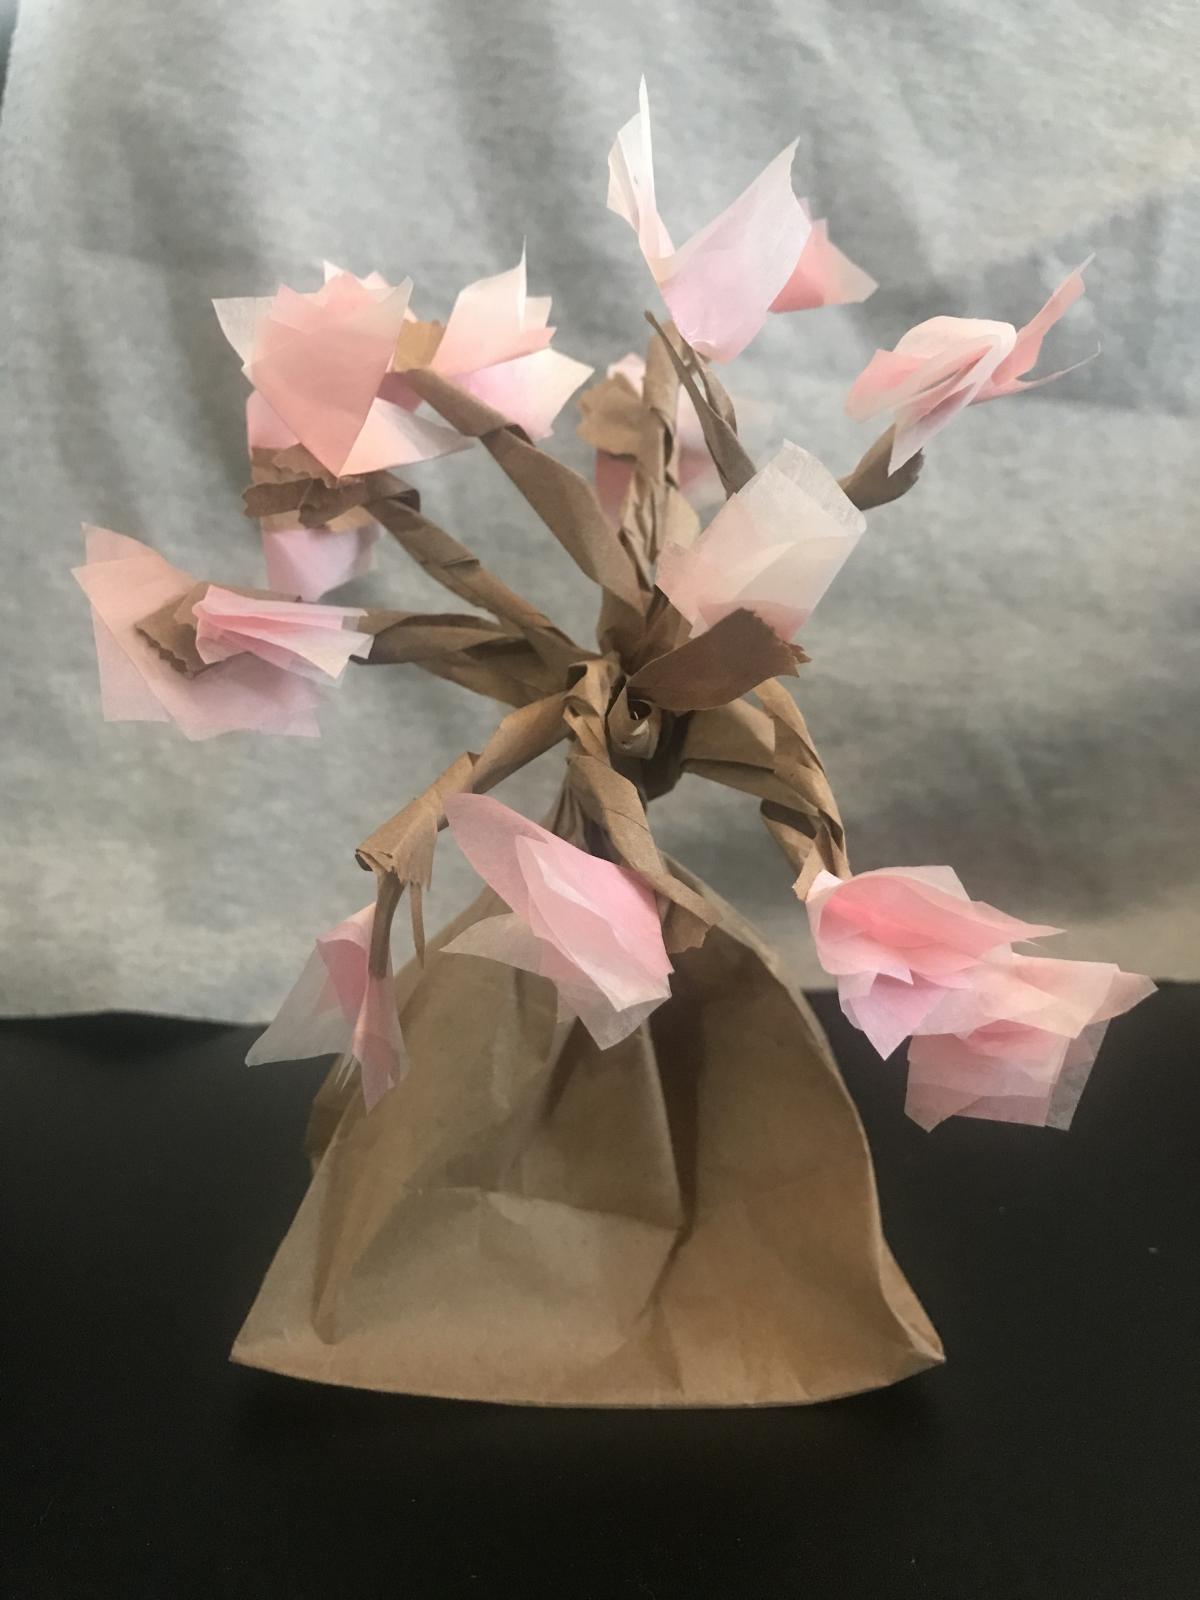
With spring in the air and Earth Day right around the corner, celebrate the season by making your own blooming cherry tree, inspired by William Henry Holmes's painting Cherry Blossoms, found in our collection.
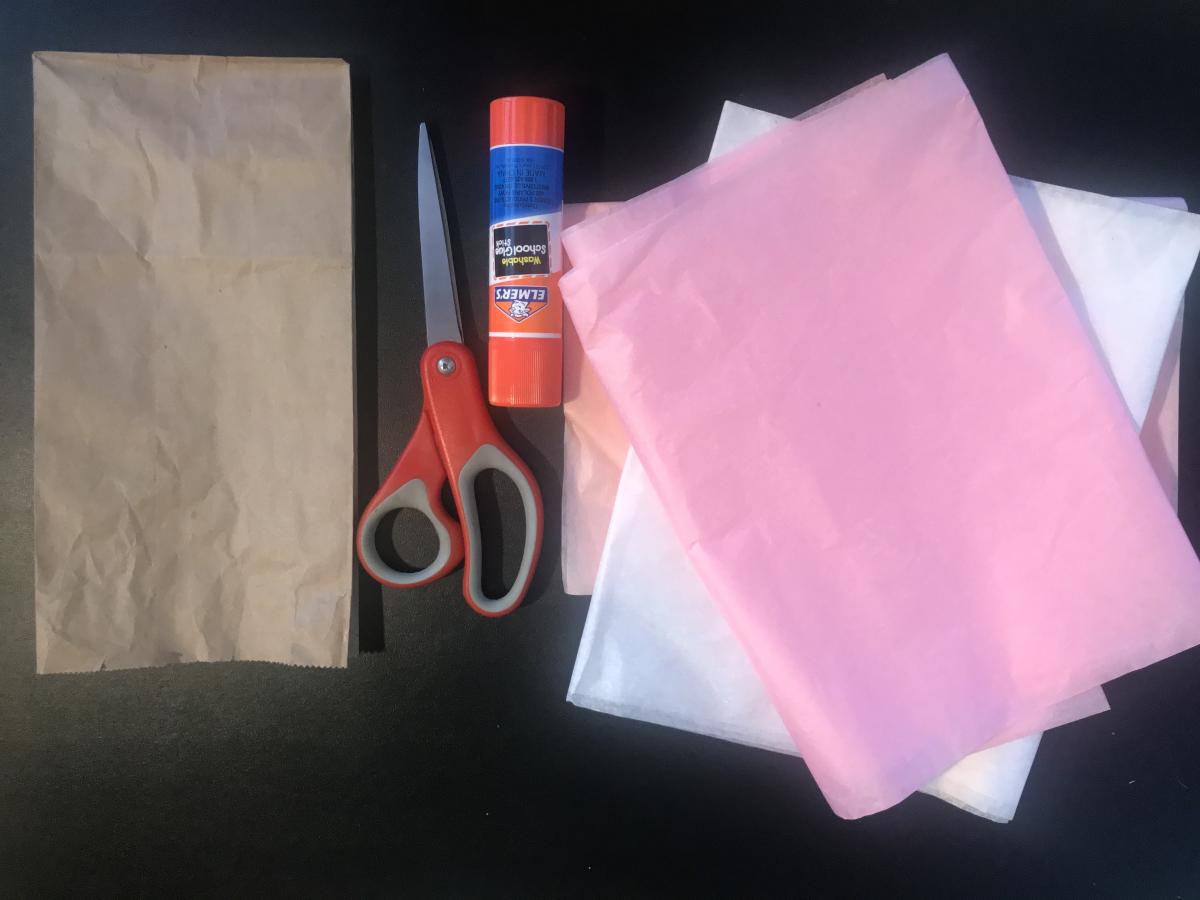
To make this tree you’ll need the following supplies:
- Paper lunch bag
- Pink and white tissue paper
- Glue
- Scissors
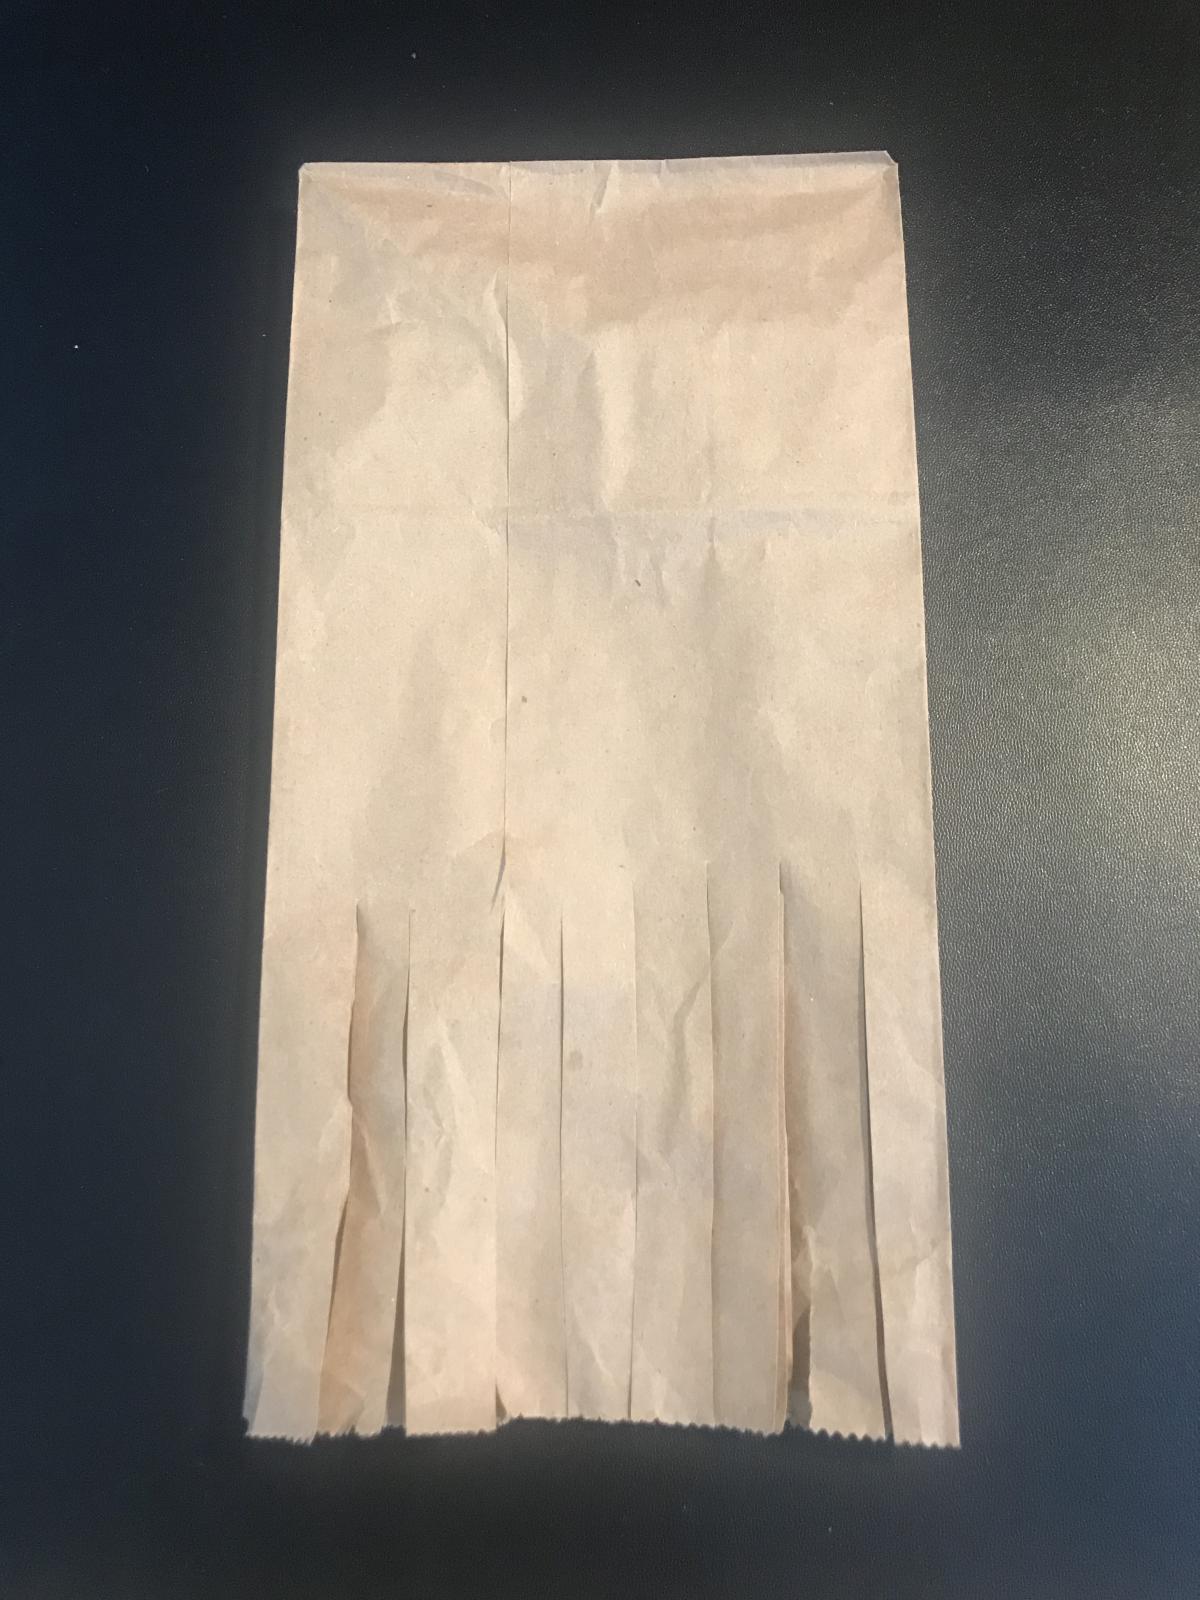
Start with a flat paper bag. Cut one-half inch wide strips from the open end down approximately one-third of the bag. These will become your branches.
Open the bag and ensure that it can stand up with the bottom flat.
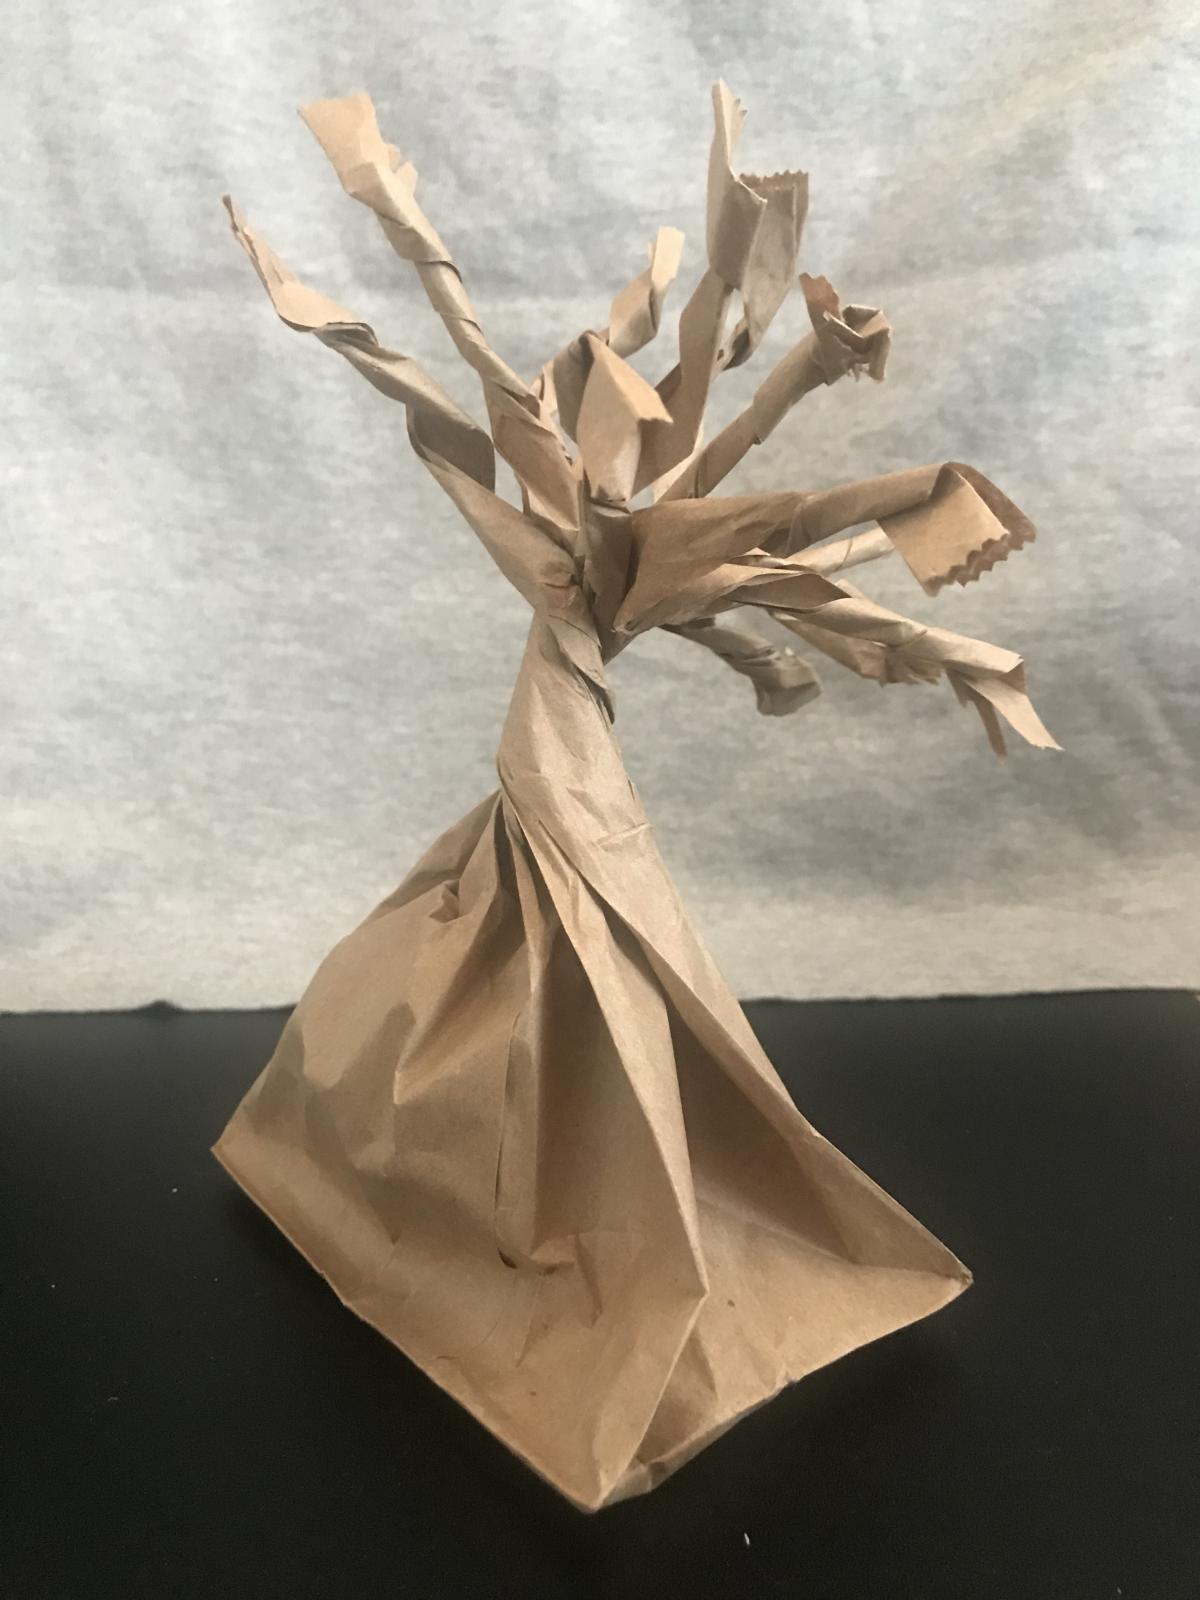
Begin to twist the middle third of the bag up to create your trunk.
When you get to the section where the strips are cut, begin to twist two or three strips together into branches. Twist all the way to the end. Arrange the branches in various directions.
Cut pieces of tissue paper into one to two-inch squares.
Layer the squares on top of one another, glue together, then fold into a point at the center. Glue the point to the end of a branch. Repeat until your tree is as full of blossoms as you’d like.
Share your trees with us @americanart We'll be publishing another at-home craft with the craft master soon. In the meantime, check out our video library of crafting projects from past Handi-hour events.


